Setting a favicon for your website is not only good for the user experience but also for SEO optimization. And it does not require much effort. A simple one-line HTML tag can help you to set a favicon.
You can use the link HTML tag to set the Favicon title icon. This is one of the basic HTML tags.
Set the following param in the HTML tag.
rel should be “icon”href should be set to the URL path of the icon.sizes param to set the ize of the faviocon image.Syntax:
<link rel="icon" href="<image_url>" sizes="32x32" />
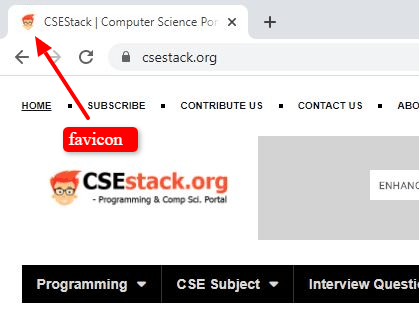
For example, the favicon we set for the CSEstack website is
<link rel="icon" href="https://www.csestack.org/cropped-site_icon-32x32.png" sizes="32x32" />
This single line of code adds the favicon for all the standard browsers.
Here are some of the points you should consider as standard practice while adding a favicon icon.
The standard size of the image logo which you are using as a favicon icon should be 32×32. Even if your favicon size is larger than 32×32, it will be shown as 32×32. This is the standard size supported by almost all the standard browsers like Google Chrome, Mozilla Firefox, Microsoft Edge, Safari, etc.
If you are using any CMS like WordPress, Blogger, etc…, your job is even easier. You don’t need any HTML coding knowledge. You can set the favicon through the settings option.

I am a Python enthusiast who loves Linux and Vim. I hold a Master of Computer Science degree from NIT Trichy and have 10 years of experience in the IT industry, focusing on the Software Development Lifecycle from Requirements Gathering, Design, Development to Deployment. I have worked at IBM, Ericsson, and NetApp, and I share my knowledge on CSEstack.org.