Taking screenshots on Linux is not as simple as taking a screenshot on other operating systems such as Windows or macOS. This is because there is no specific utility that is installed for taking a screenshot.
But, there are other distributions that have at least one utility installed and can be used to take a screenshot.
In this article, we will look at some default tools that can be used to take a screenshot on Linux.
Table of Contents
Linux Mint has a built-in screenshot tool that can easily take a screenshot.
This tool is quite easy and simple tool to use,.You can take a snip of your current window by hitting keyboard shortcuts the PrtSc key or Fn +Prt SC keys on other devices.
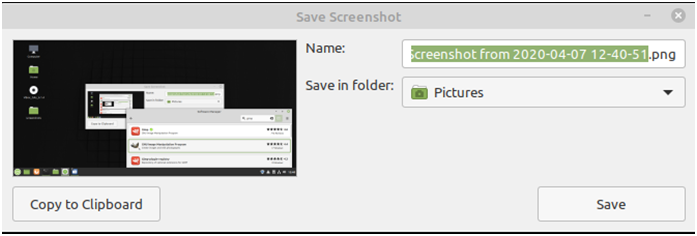
When the screenshot is taken, the tool has an option of how you can choose to copy it to a clipboard and you can also give your screenshot a name and choose the folder to which you want your screenshot to be saved.
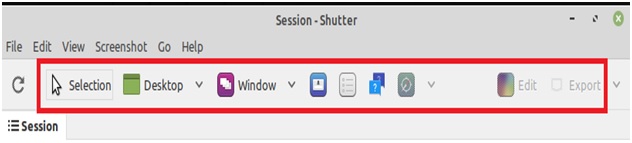
Shutter Linux screenshot tool is one screen capture tool that allows you to capture a screenshot of an entire window, a selected area, and even a snip of your desktop.
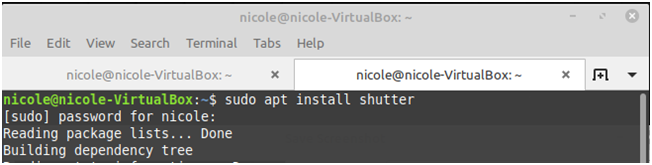
To install a shutter you can either choose to browse from the software center and install it from there or you can as well run the following command. Make sure you have sudo privilege or root access to run.
sudo apt install shutter
Note: To install the packages/tools in Linux through the terminal, you should know the basic Linux commands.
You can use the app launcher to search for a shutter and manually launch it.
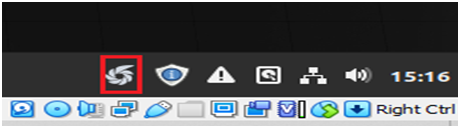
To take a screenshot, click on the shutter tool icon. From there you can choose the type of screenshot you want to take.
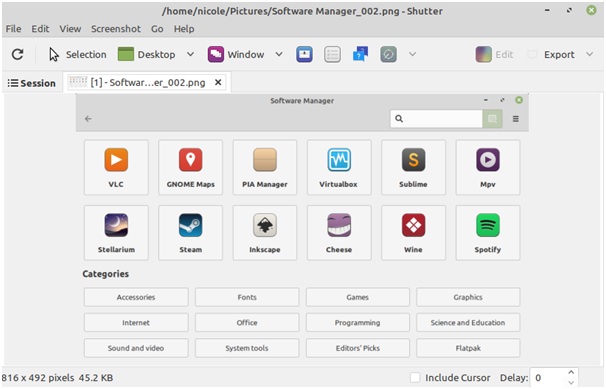
It also has an integrated feature that lets you share your image online. It is a user-friendly tool as it does not have any complications while taking a screenshot.
It also ships with an editing feature that helps the user to add some effects to the image.
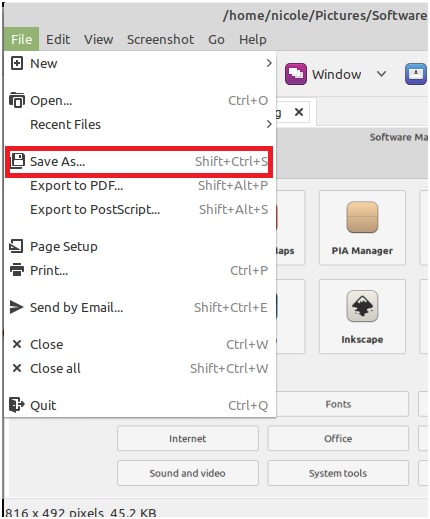
After you are done editing your image you can save it by clicking on the File menu at the top right corner of the toolbar.
How to take the Linux screenshot using the command?
ImageMagick is a command-line utility that is used to take a screenshot simply by running a few commands.
This open-source software is used to display, convert, and even edit bitmap images. It has a vector image file which has a support frame consisting of a200 image format. It can also write images in different formats such as PNG, GIF, JPEG, and many others.
It can take a screenshot by using a set of commands. It also allows you to take a screenshot of the active window, the entire screen, or even a portion of the screen.
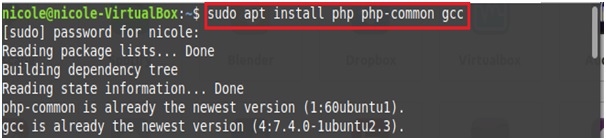
To install ImageMagic, you need to install the required packages by running the following command.
sudo apt install phpphp-common gcc
After installing the required packages now you can install ImageMagick by running these commands.
sudo apt install ImageMagick
To take a screenshot of an entire screen simply type the following commands then press enter.
import -window root pictures/image2.png

You can also take a screenshot of a selected area by running the following commands and pressing Enter, your mouse cursor will turn into a crosshair then you can click on the window you want to capture.
import pictures/image3.png
Add a delay time to take your screenshot by typing:
import -window root -3 second pictures/image4.png
You can then choose the amount of time you want to delay then press enter.
The Gimp Linux screenshot tool is the ideal image editor that always comes installed in Linux. But, if you don’t have it then worry not and just head to the software center and install it.
You can also run these commands to install it.
sudo apt install gimp
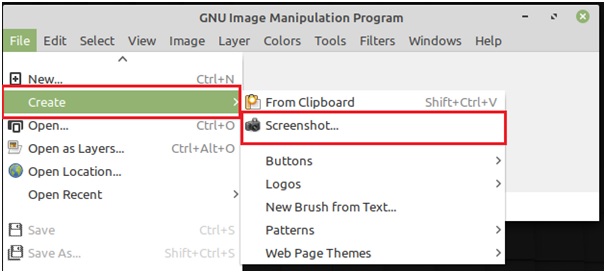
Click on the start menu and select Gimp. After it opens click on the File menu then select “Create”, on the drop-down menu click on the “Screenshot” option.
Then you can choose the type of screenshot you want of the full screen, a custom of a single window. You can add a delay if you want, to get the targeted screenshot at the time you want.
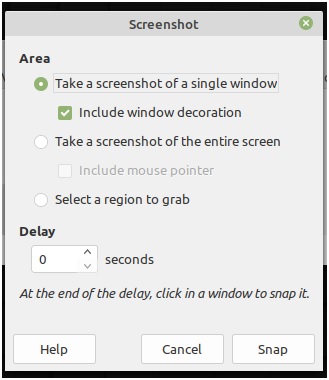
After selecting the type of screenshot you want, and maybe if you have added a delay duration, click snap for your picture to be taken effectively after that, you can open your mage on the Gimp editing window for further editing. As in my case, I have chosen a screenshot of the entire screen.
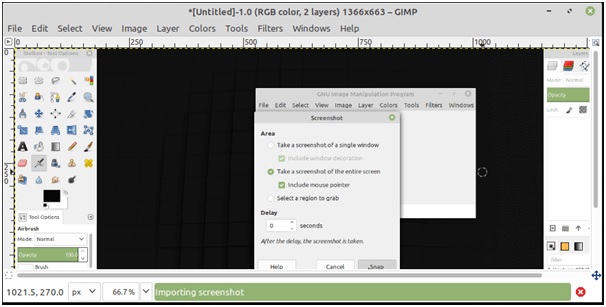
When you are done with editing or if you don’t want to add an effect screenshot, you can save it. Click on the File menu then, on the drop-down menu, select the export option, give your screen a suitable name, and choose a folder to which you would like your image to be saved. When you are done, click export for your image to be finally saved.

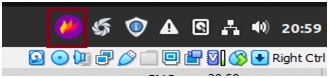
A flame shot tool is a splendid tool that recently arrived on GitHub. It has magnificent features such as it helps you to annotate, mark, and many others.
If you want to install it on Ubuntu, search for it on the Ubuntu software center. Also, you can run the command below on the terminal to install it.
sudo apt install flame shot
Click on the tool to select an area. After selecting an area press enter to capture a screenshot.
At the bottom of the screenshot, there are different types of drawing tools that you can use for editing. Next, there are also some editing options such as undo, copy, and many more. The functions are easy to identify.
Flameshot also supports some keyboard shortcuts making it easier for the user to save the image by using ctrl + s and even copy the image to the clipboard by hitting ctrl + c keys.
Conclusion
These are the best screenshot tools used to capture a screenshot on Linux. There are a lot of options available when it comes to the best Linux screenshot tool. You can always choose any of the tools that are convenient for you.
Editors’ Note: This article is shared by Jeff M Thomas and edited by Aniruddha Chaudhari.

I am a Python enthusiast who loves Linux and Vim. I hold a Master of Computer Science degree from NIT Trichy and have 10 years of experience in the IT industry, focusing on the Software Development Lifecycle from Requirements Gathering, Design, Development to Deployment. I have worked at IBM, Ericsson, and NetApp, and I share my knowledge on CSEstack.org.